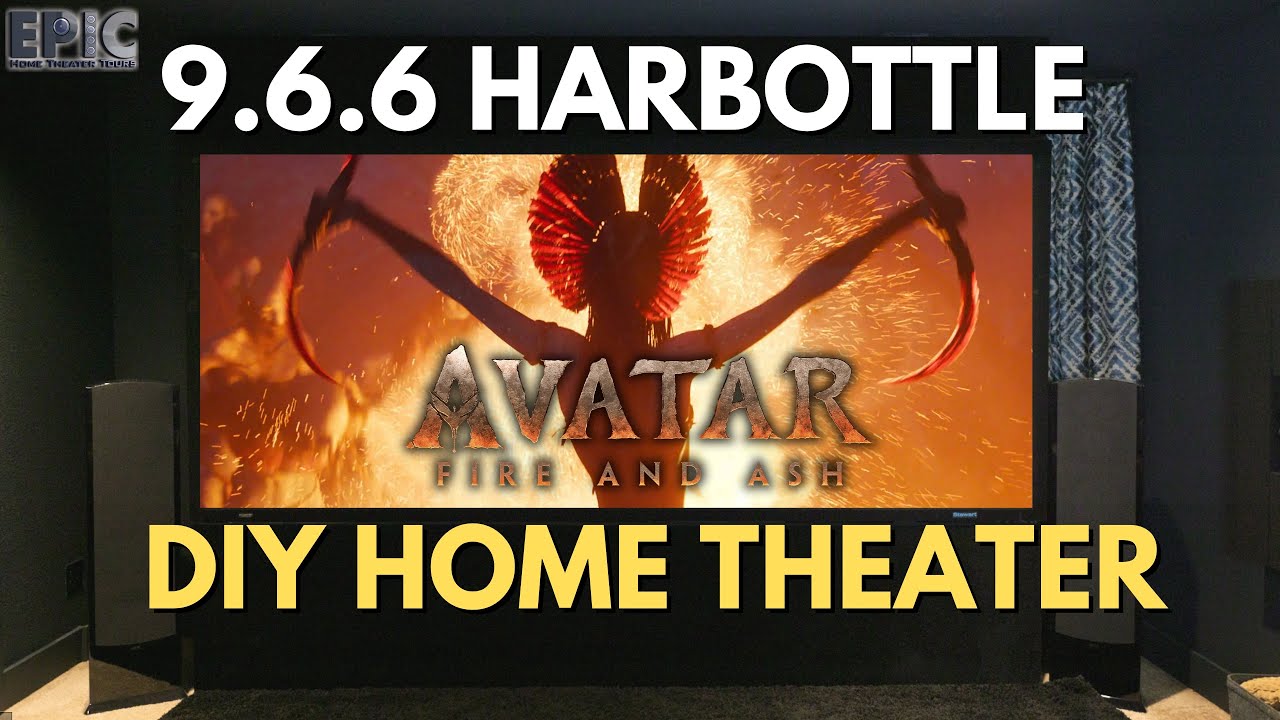
Harbottle Audio - Better than Nature
Harbottle Audio is a high end, Handmade Subwoofer and Audio Engineering Firm that uses cutting-edge science to get the best audio experience available. Famous for our ultra luxury Cassini Subwoofers, Harbottle Audio is on the bleeding edge of sound. Based out of Alberta, Canada, every subwoofer we make starts with raw materials and ends with 12 hours of testing. No guesswork, no compromises: just linear, low distortion performance backed by science and obsessive quality control.
Better than nature, our sound profiles compensate for room characteristics, and personal listening preferences.
This is what audio looks like when it's engineered to perform at the edge of physics and built to outlast the hype. Most won’t understand it until they hear the difference. That’s fine. They will.
"They simply have to be experienced first hand to be understood and appreciated."
- Bruce, Edmonton AB


Cassini subwoofers are the essence of elite status from a hyper optimistic era, combined with the best technical components in the industry. Handcrafted in Canada for those who demand precision, authority, and absolute control from every low-frequency detail. With over 800 subwoofer variants, Harbottle Audio has the broadest subwoofer lineup in the world. As the primary brand of Harbottle Audio, Cassini benefits from its parent company’s expertise and innovation in the ODM market.


Cassini Subwoofers
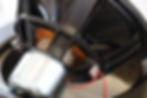
Custom-made, LDLC-engineered subwoofers, complete with 12hrs of real-world testing plus over 500 points of Quality Control to verify the subwoofer does exactly what we say it will do.
“These dual 24” Cassini are providing the BEST bass I’ve experienced in my room, or any room for that matter.” - Bruce, Edmonton

Calibration & Support
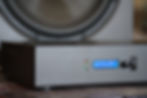
Calibration by Harbottle-certified representatives. On-site calibration.
Remote system service capability.
500+ QC Parameter. DSP Tuning. DSP config file recovery.
“Sound quality builds a big soundstage with great detail and tight‑hitting bass for a bookshelf speaker.” - Audioholics Forum

“Harbottle tops them all - and I’ve owned subs from Velodyne, Paradigm, Martin Logan, SVS, Seaton, PSA, and JTR.”
-Bruce, Edmonton
Why Choose Harbottle
Every Harbottle subwoofer is part of a complete performance chain. Certified integrators match your system to your room with detailed DSP calibration and full parameter testing. Your settings are saved, your personal warranty is extended, and the experience is locked in: accurate, repeatable, and engineered for your space.
Built in Canada, Backed by Proof
Our subwoofers are 100% made in Canada. No overseas labour. Everything is measurable, repeatable, and published. If you’re looking for hype, look elsewhere. If you’re looking for answers, you’re in the right place.
Uncompromising Engineering
We build from first principles. Every driver, enclosure, and subcomponent is designed for maximum linearity under real-world conditions. Our LDLC engineering model (Low Distortion, Low Compression) is the foundation. Over 500 quality control checkpoints. 12 hours of testing per unit. This is what performance without compromise looks like.

From The Founder
"I started Harbottle because I was tired of the fluff, the hype, the buzzwords, the trade-offs. None of it pays you back. I wanted real performance, engineered from the ground up, by using components are are perfectly matched. So I designed it myself, and built it with craftsmen who are genuinely skilled in the highest order. Every system we make is stripped of hype, and bursting with real displacement performance."
- Cody Hiebert, CEO & Technical Director
Harbottle Audio has factory certified representatives all over the world. Talk to the CEO, and he will team you up with the correct audio representative for your audio system needs.
12 hrs
Of full rated use testing
Global
We consult where you are
Operating since
2010
500+
Points of inspection
“When you call Cody, you get knowledge, science, and physics. Not sales pitch or hype.” - Chad G, Illinois
Harbottle makes subwoofers that redefine what precision feels like.
- Chad G (Illinois)
"The fidelity, resolution, and impact were way beyond what I expected. I finally have the clean, powerful bass I always wanted - without the trade-offs."
Top of the heap. Flawless compression sweeps and outstanding performance.
- Verdinut (Audioholics Forum)
"Harbottle’s drivers set the benchmark in DIY and professional communities. Nothing else measures this clean."
My goal expectations have been surpassed in every measure.
- BassMojo (AVS Forum)
"The sonic fidelity with no distortion or compression is incredible, the smaller size is about 1/4 of the previous subs, they are sexy as hell, and I believe that they produce even more output. I honestly believe that these are the best subwoofers on the planet!"


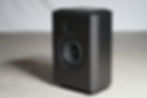
Obsidian 300
Reference Monitor
Compact but extremely powerful Designed for stereo, surround, or studio use Features: wide off-axis performance, high dynamic range, and effortless clarity Built with inert enclosures for better detail and composure Available active (with DSP) or passive.
Use Cases: Nearfield and far-field listening, compact home theater, stereo music, studio reference

Obsidian 700
Mastering Monitor
Same voicing and precision as the C7, but with +6 dB output Full-range tower speakers with massive soundstage and dynamic headroom Designed to "disappear" in the room with hyper-real imaging Tuned for composure at the edge of physical driver limits
Use Cases: 2-channel audiophile systems, front L/R in home theater, immersive stereo environments, studio reference

Obsidian Speaker Suite
Complete Reference Speaker Systems
Custom-built packages for surround sound and Atmos configurations Designed for cinematic clarity, thunderous impact, and linear output Matched timbre across all channels Tuned to maximize return on investment through precision driver control
Use Cases: Immersive home theaters, high-end media rooms, precision-matched multichannel mastering
Harbottle Audio Editorial
Dive into the thinking behind LDLC, compression loss, system efficiency, and what most of the audio industry won’t tell you. These aren’t written just to produce “content”, they’re engineering documents written in plain language for those who want to understand why their system sounds the way it does. If you're looking for hype, you're in the wrong place. If you're looking for answers, start here.